In the era AI‑powered business applications, project‑based organizations need more than accurate accounting. They need agility, end‑to‑end visibility, and connected processes to deliver profitable and predictable outcomes.
Many organizations still rely on the legacy Project Management and Accounting (PMA) module in Dynamics 365 Finance & Operations. While PMA has served businesses well for project financial control, it falls short in modern project planning, resource optimization, integrated sales, and collaboration capabilities.
Microsoft’s modern architecture for Dynamics 365 Project Operations bridges this gap by combining the financial rigor of PMA with next‑generation, AI‑enabled project capabilities built on Dataverse. This evolution is not just a technical upgrade; it’s a strategic shift to future‑proof your business and unlock meaningful efficiency gains.
This post is for project and service‑based organizations using PMA today who are evaluating their journey toward the modern architecture.
Why Legacy PMA is Holding you back:
Organizations still using PMA often face:
- Fragmented project planning and resource management
- Limited collaboration across sales, delivery, and finance
- Outdated and siloed technology
- Quite a bit of manual processes
- Limited scalability for modern operating models
PMA provides strong accounting, but lacks the integrated, AI‑enhanced capabilities needed for today’s project‑centric enterprises.
What is the Modern Architecture vs Legacy PMA:
Legacy PMA (Your current state)
- Fully embedded in Finance & Operations
- Handles project creation, basic scheduling, time & expense, invoicing, and revenue recognition
- Limited sales integration
- No modern AI or Dataverse-native capabilities
Modern Architecture (Your future state)
- Sales, planning, resource management, and project operations run on Dataverse with Dynamics 365 Project Operations all in one connected flow.
- Financials, invoicing, and accounting remain in Dynamics 365 F&O
- Synchronized financials to ERP via out of the box dual-write
- Enables rich planning, AI, automation, analytics, and collaboration
This hybrid model gives you the best of both platforms.
Why is it important for Executives and Business Leadership:
AI powered project planning:
Built-in Planner P3 capabilities, including Copilot-assisted WBS creation, risk assessments, and status reporting accelerate delivery and improve accuracy.
Agentic AI Automation
Intelligent agents reduce operational overhead by automating time & expense entry, approvals, reconciliations, and monitoring.
Smarter, More Reliable Finance
Connected processes from Quote → Contract → Project → Revenue Recognition reduce errors, shorten billing cycles, and improve reporting.
Unified Platform For your Service, Projects and Financial Ops
Modern planning and resource management on Dataverse works seamlessly with F&O’s proven accounting, connected through dual-write. Out of the box integration of Field Service operations with Projects enables seamless workflows from “field to financials”.
Low-Risk Transition Path
Starting in version 10.0.45/10.0.46, Microsoft allows PMA customers to include the same legal entity in the modern architecture.
You can:
- Continue and close PMA projects
- Create new projects in the modern architecture
- Avoid heavy code or data migration investments
Future-Ready Foundation with a really well-defined roadmap
Built on Power Platform, enabling continuous innovation with AI, process automation, and analytics. The roadmap for the modern architecture is compelling with robust features such as change orders, AI agents, what-if analysis and more.
Key Capabilities You Get in the Modern Architecture
- AI driven Project Planning with Microsoft Planner P3 built-in: Intuitive, timeline-based planning powered by AI.
- Unified Resource Management: Seamless resource scheduling and utilization across roles.
- Modern Contract Structure and Pricing: Richer quoting built on D365 Sales/CRM capabilities and flexible contract modeling and dimension-based pricing with a unified business process flow.
- Subcontracting: Fully integrated with D365 F&O Procurement providing end- to end capabilities from subcontract modeling, T&E, invoicing with 2-way and 3-way matching and integrated vendor invoicing.
- Agentic T&E Entry and Approvals Management: Game changing T&E entry and approvals management saving significant time for your resources and PMs.
- Billing Hub with modern invoicing and KPIs
- Dual-write Integration out of the box: Real-time syncing of data between Dataverse and F&O out of the box takes the burden off of you where you don’t have to custom integrate your CRM with ERP. This is a HUGE relief for customers where they do not have to maintain the technical debt of custom integrations. Along with all the modern functionality you will get, this alone should be one of the primary drivers for you to consider the move to the modern architecture.
- D365 Field Service’s native integration with project operations streamlines your service business integrating seamlessly with projects and financials workloads out of the box.
How is Microsoft Enabling this transition:
Starting with the version 10.0.45/10.0.46, if you are using the PMA module to manage your projects under a legal entity in your existing D365 F&O environment, you can include the same legal entity in the modern architecture.
Microsoft’s goal here is not provide full PMA capabilities and the modern architecture capabilities within the same legal entity in F&O. This functionality of allowing the co-existence of the some of the legacy PMA functionality is primarily to provide customers a path to close out projects they started in the PMA in D365 F&O and create any new projects going forward using the modern architecture.
This is great news for you as a customer, where you will NOT have to spend time and money on significant technical code migration or data migration efforts to move over to the modern architecture. You will have most of the key functionality/processes you need to close out your PMA projects and then take the opportunity to evaluate your holistic “project to Profit” business processes and take advantages of the functionalities available in the modern architecture for new projects post migration.
Some Technical and Functional Details:
Here are some of the high-level steps of how you can enable this migration.
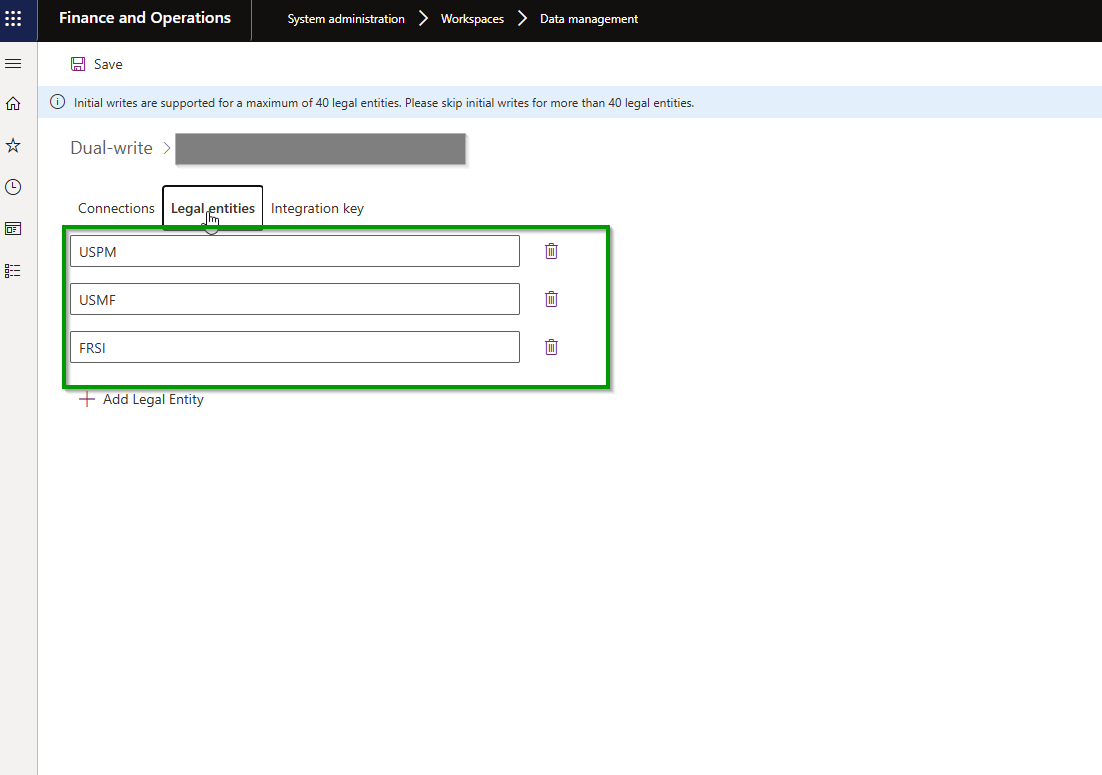
You will first need to include the legal entity where you are using the PMA module in the global parameters in order to enable the modern architecture of Project Operations.

You can then go through the technical steps of including that legal entity in the dual-write integration keys and likely perform an initial sync to get the foundational entities initial synced between F&O and Dataverse. This is a requirement for the modern architecture.
With those in place, when you go look at your projects that were created with the PMA solution will have limited features and functionality available which provides you pretty much everything you need in order to execute the remainder of those projects and eventually close them out.
Below are the features that are available for closing out the PMA projects.
- Manage Project stage transitions
- Manage Ledger postings configurations
- Setup/update cost prices and sales prices
- Process Hour/Expense/Item/Fee journals to update costs/revenues and general journals on projects if required.
- Process project item requirements.
- Create or complete purchase orders, requisitions, RFQ, agreements linked with the PMA project.
- Create/Update on-account transactions.
- Project Expense reports.
- Create and post project invoice, credit notes and customer advances.
- Revenue Recognition processing.
- Intercompany invoicing
Below are the features that are NOT available for the PMA projects:
- Adding advanced project contract details such as billing rules, multiple funding sources, rules and limits are not available. This can be a key consideration if you are using this functionality in the PMA. Before you enable the modern architecture, you need to ensure that all your contract definitions are up to date so that you can continue executing the billing for the contract/project. It is likely that you may find some contracts which will end up being candidates to be migrated to the modern architecture.
- As of 10.0.46 release, Project Timesheet Entry is not available. This means you will need to rely on Hours journal entry to account for the hours for resources for the remainder of the project. I can see this being an issue for some customers especially if they are using a lot of intercompany timesheets.
- Cannot edit project forecasts or budgets: Should not be a deal breaker and there are ways to make get around this constraint.
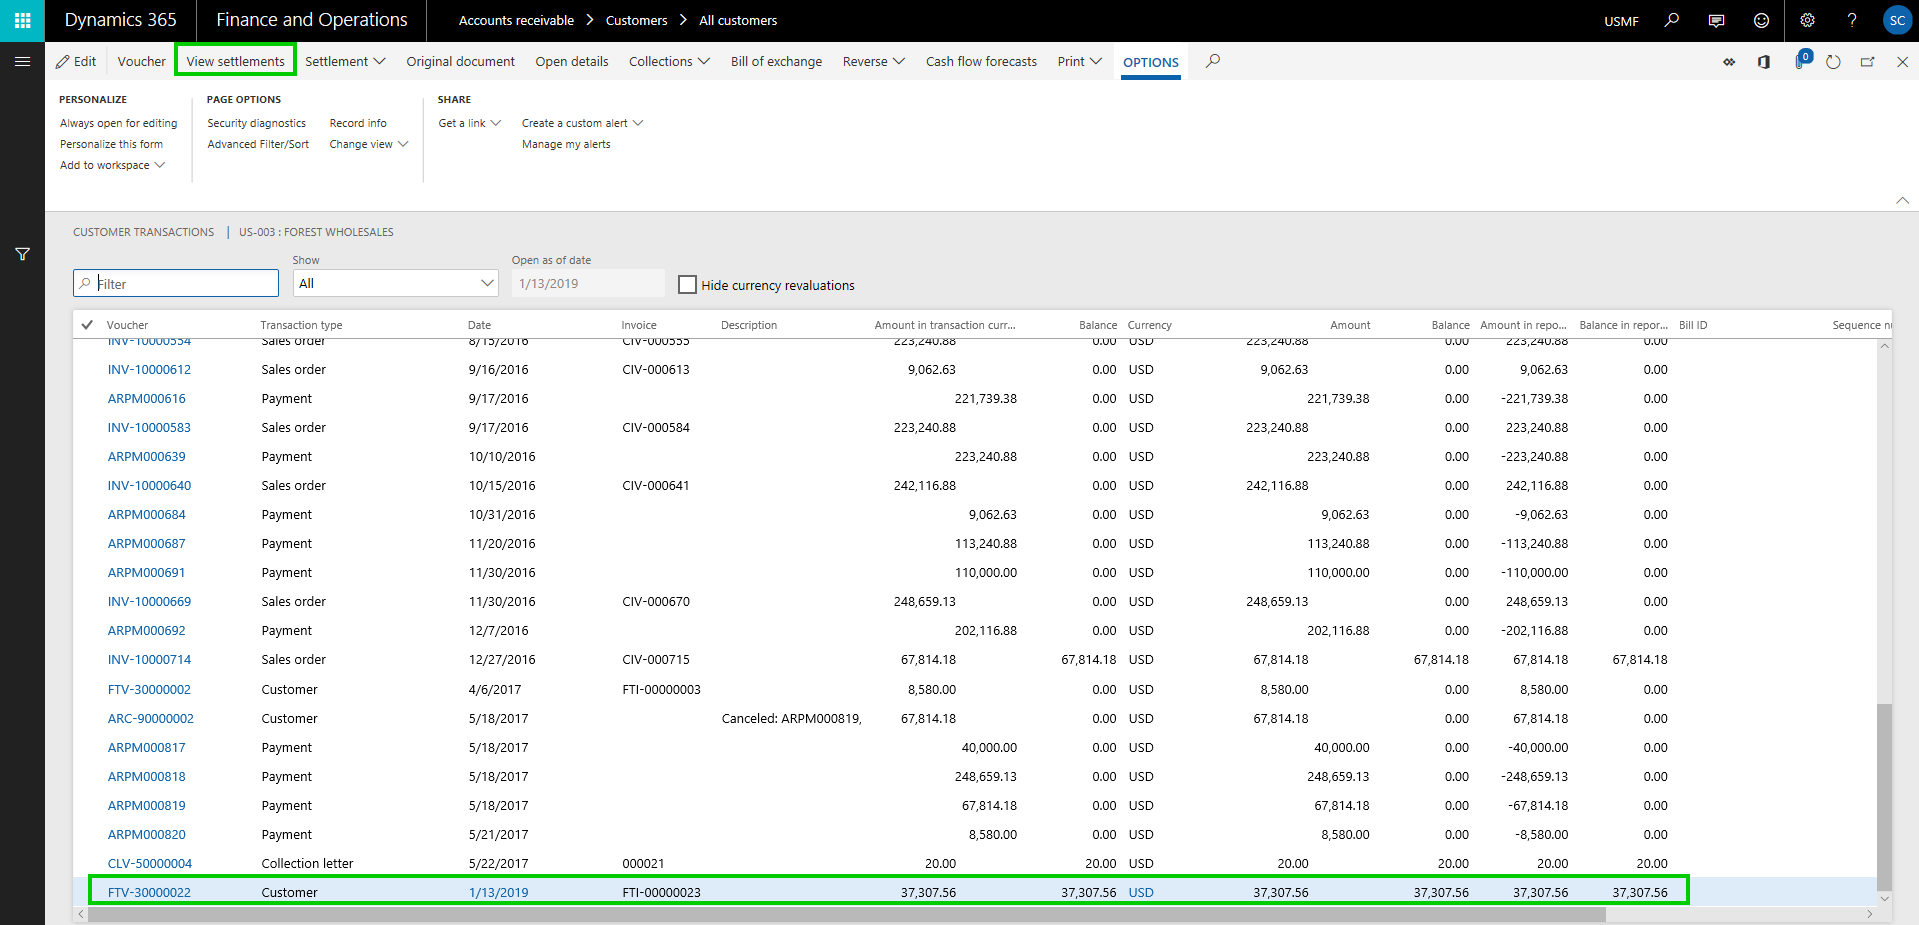
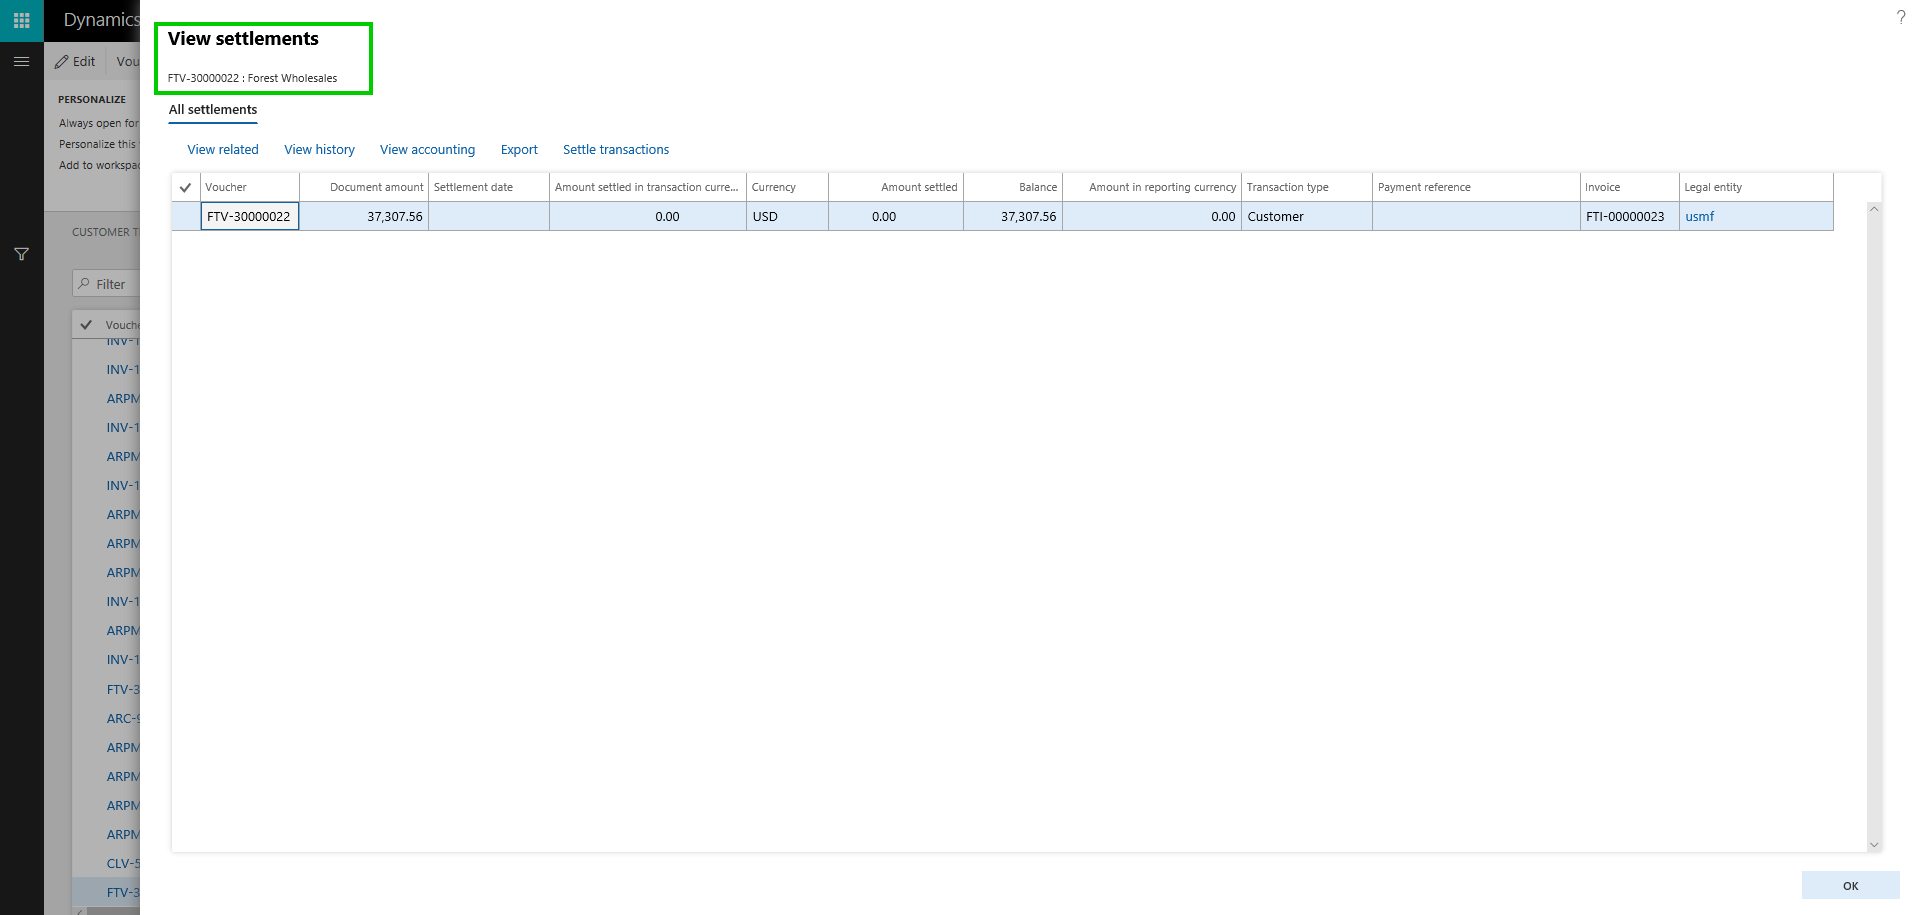
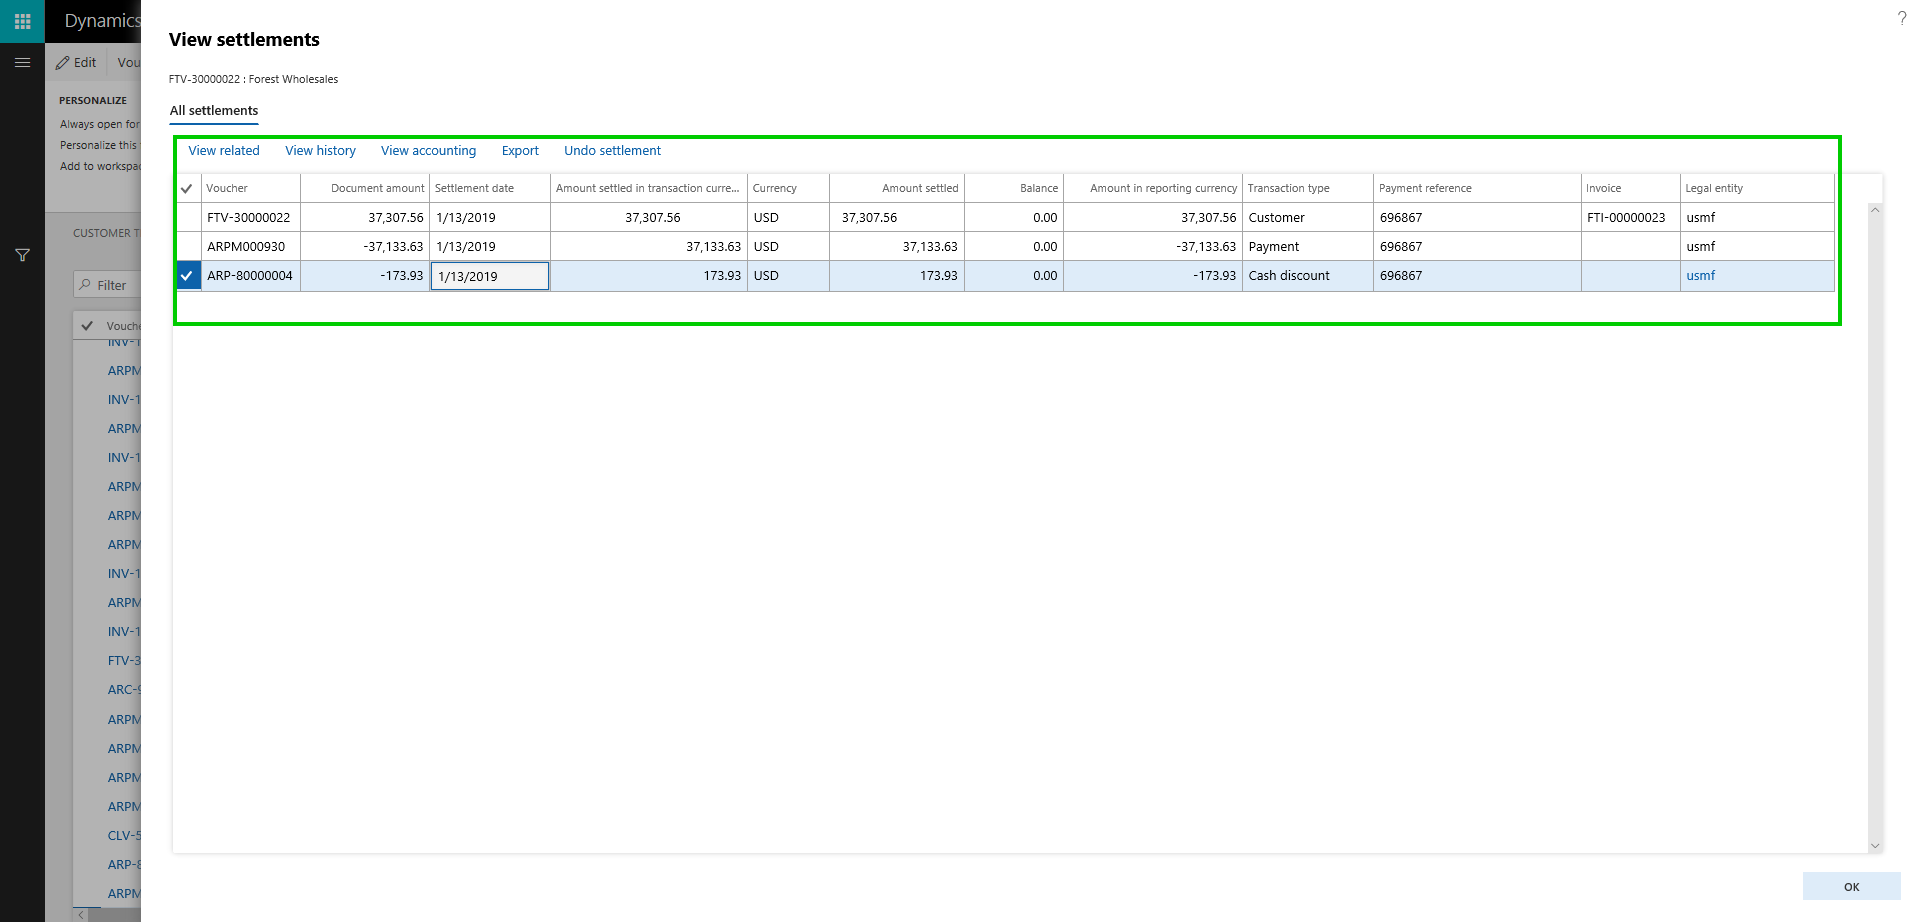
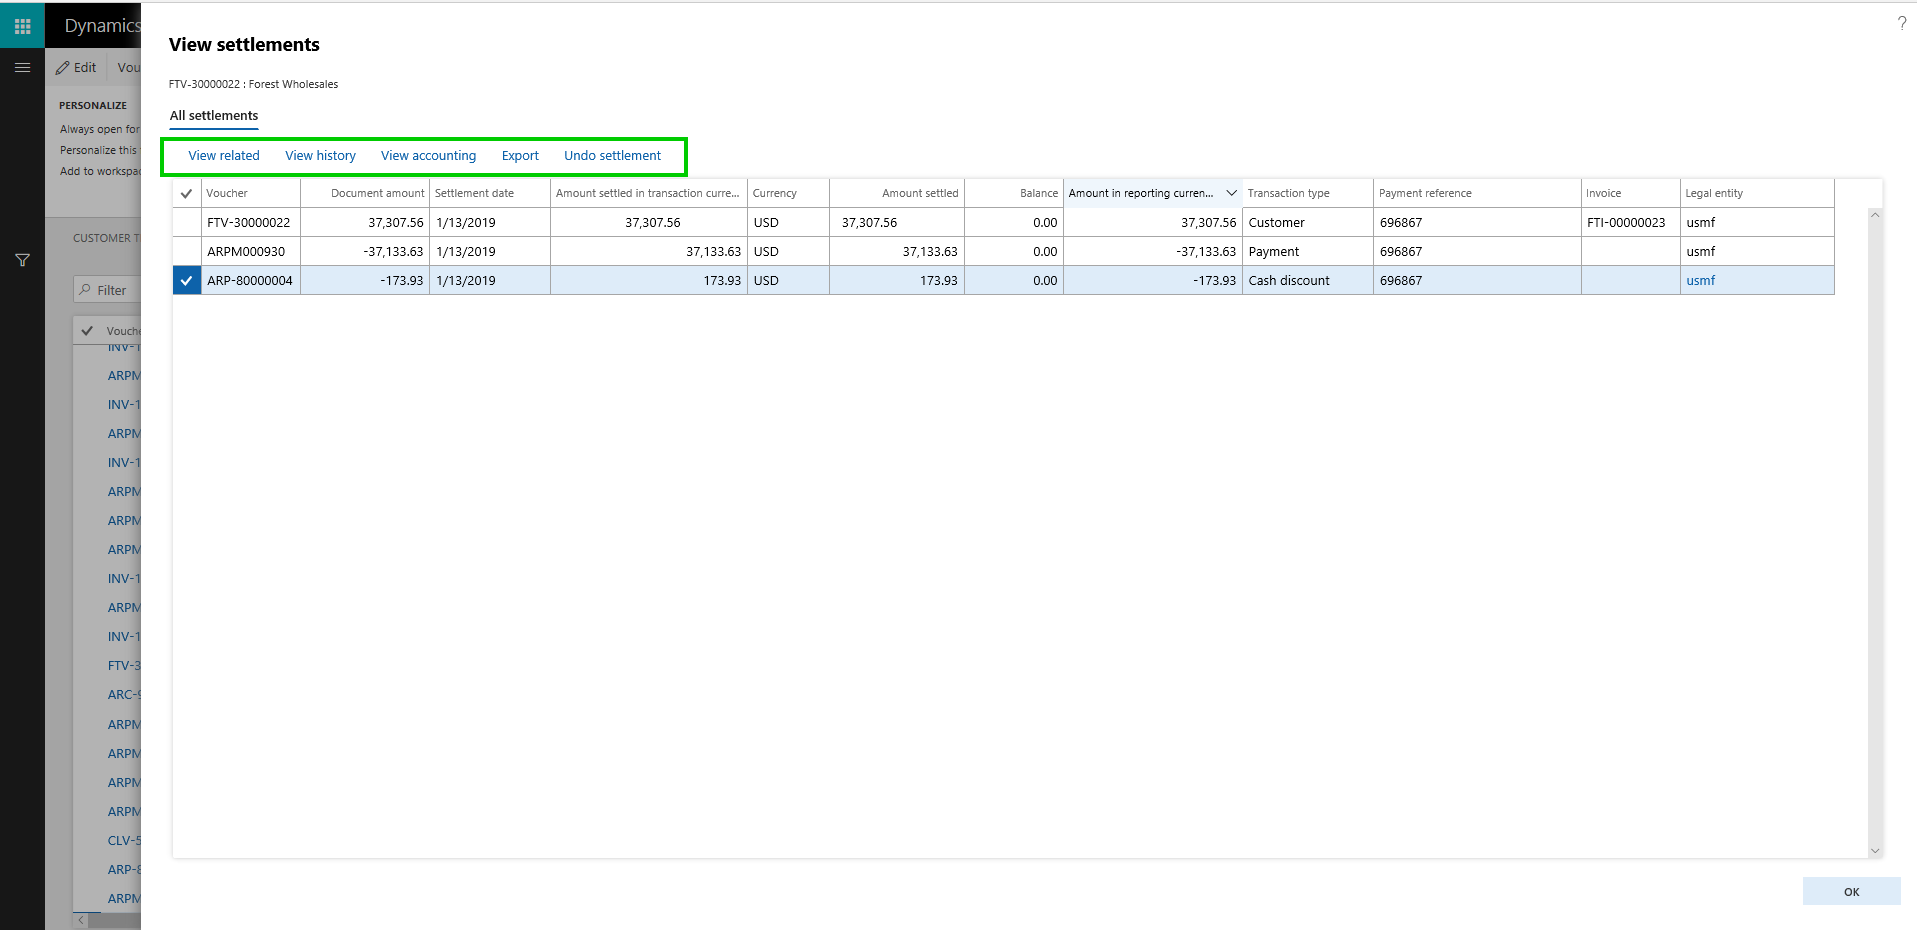
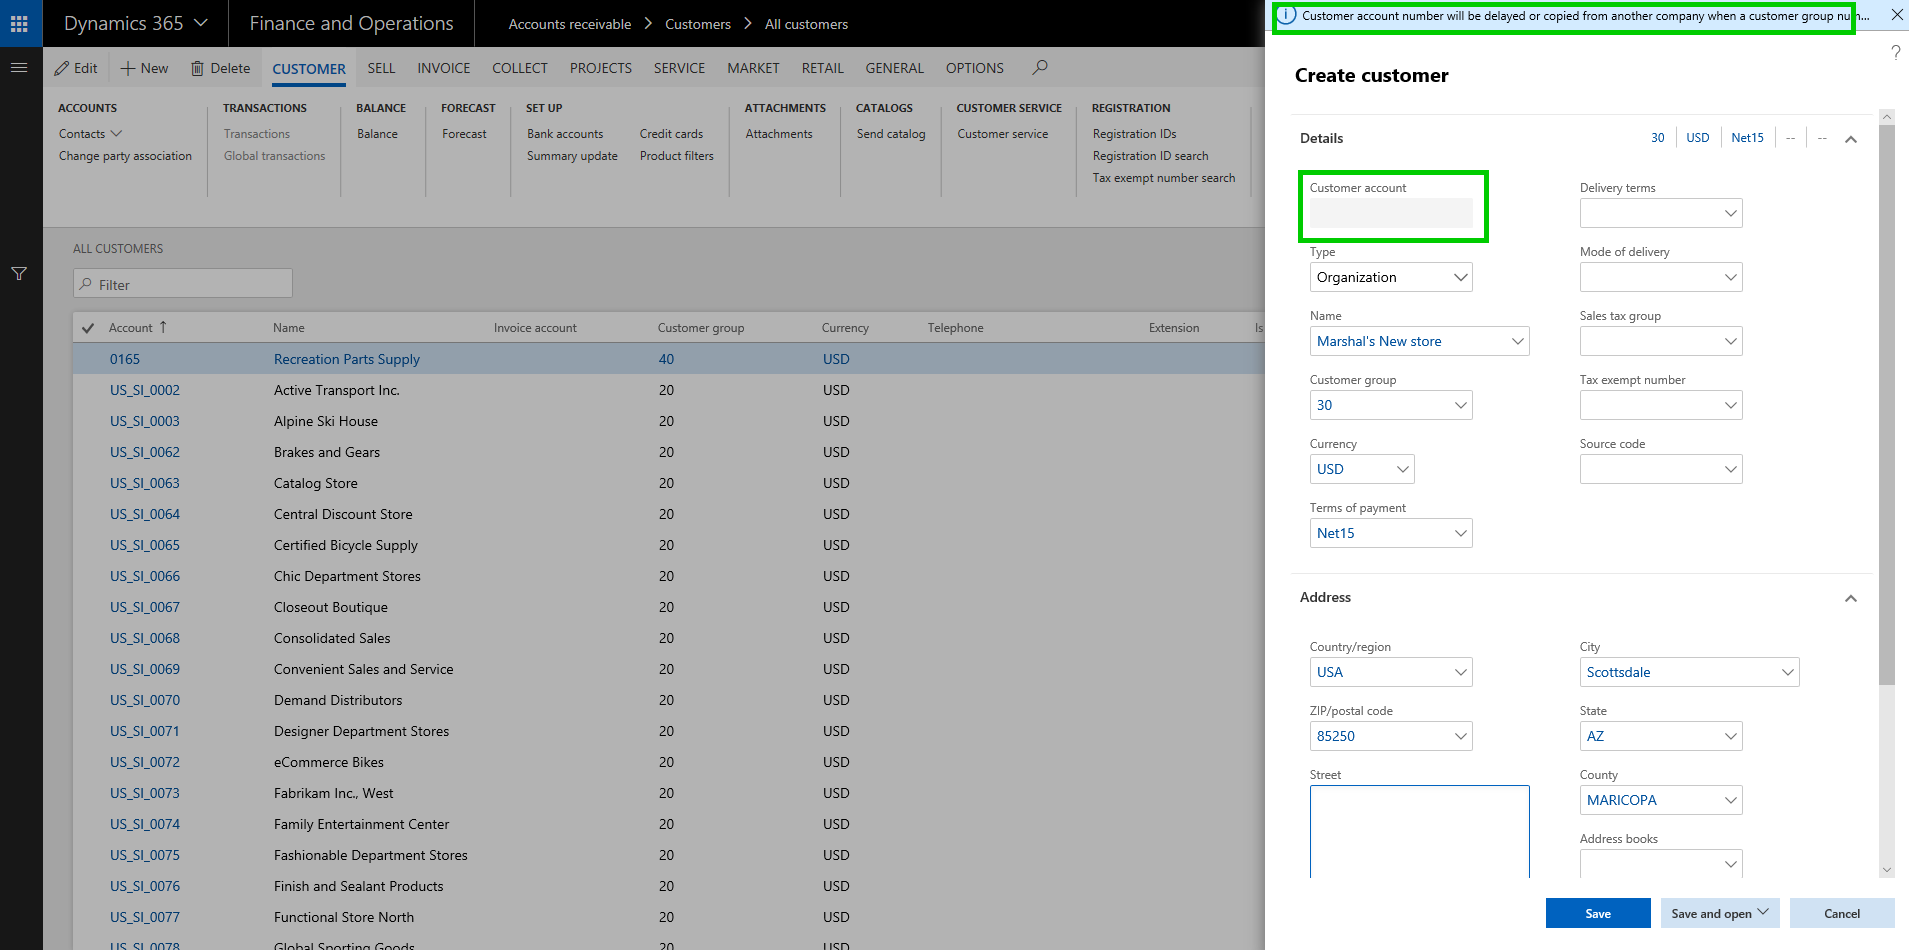
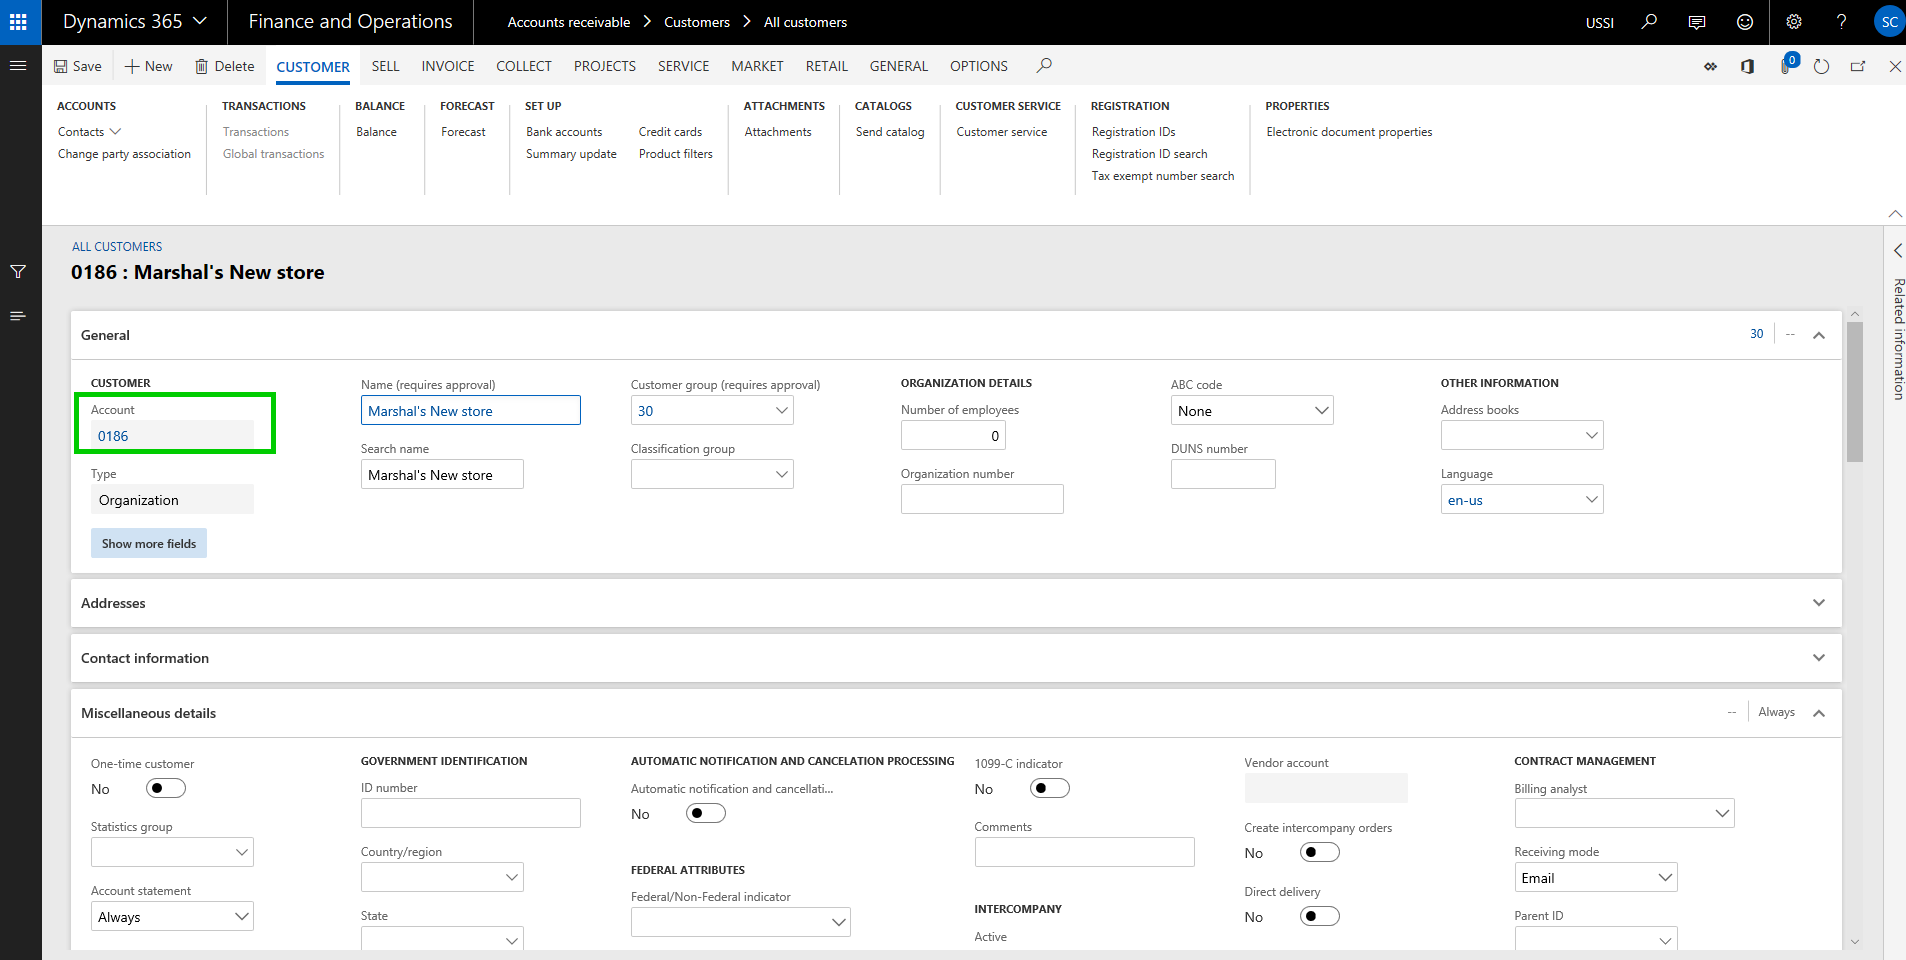
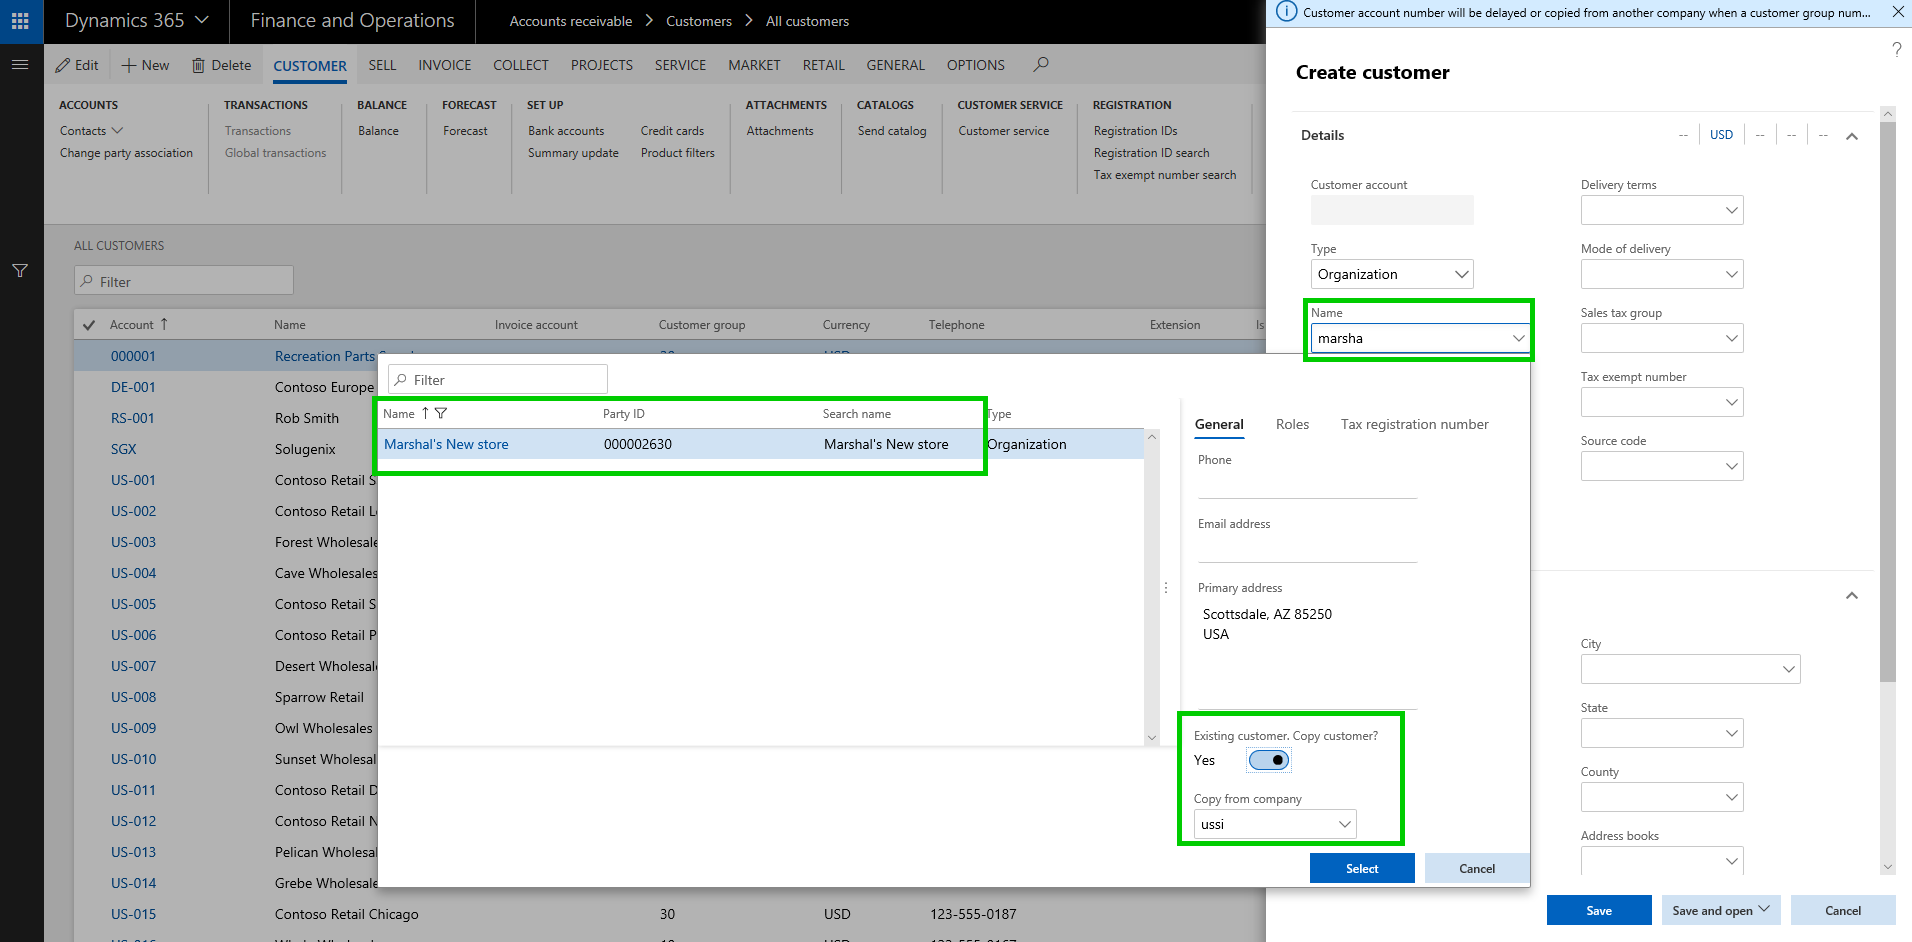
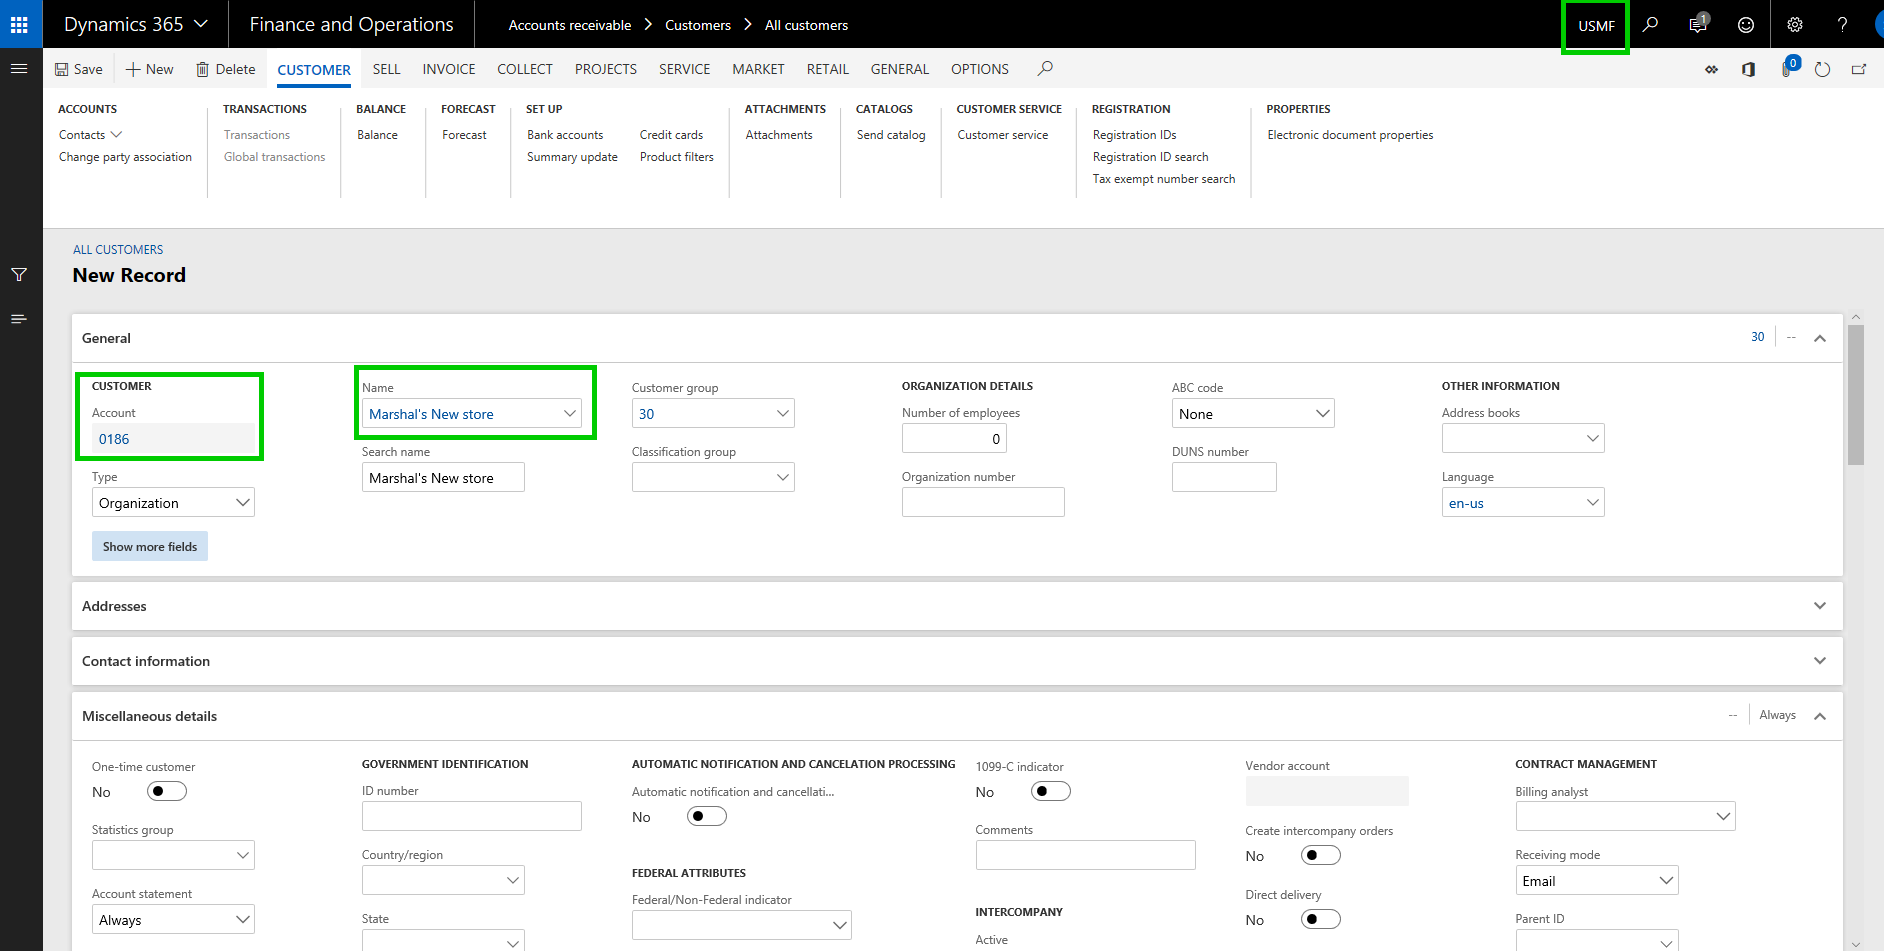
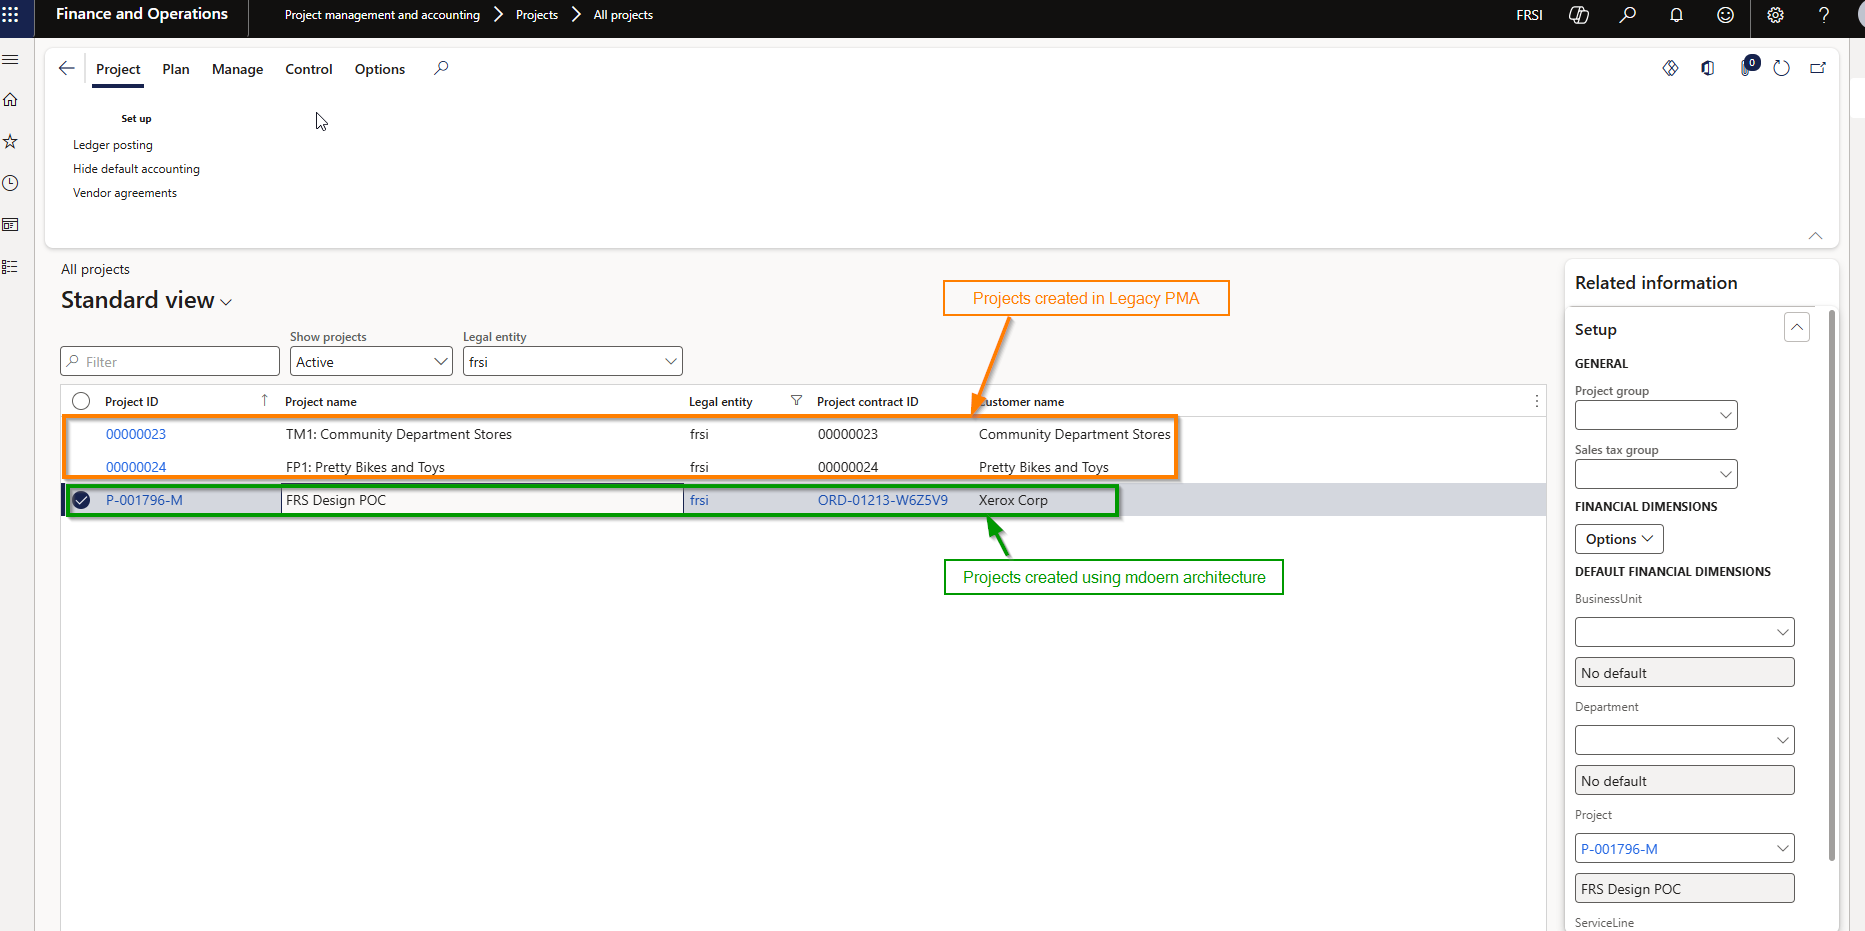
- Below screenshot shows legacy PMA and Modern architecture projects existing in the same legal entity in F&O.
Conclusion:
The move from the legacy PMA module to the modern architecture is more than a technical upgrade, it’s an opportunity to rethink and elevate your entire “Project to Profit” lifecycle. With AI‑driven planning, agentic automation, unified resource management, and F&O’s trusted financial capabilities, organizations can reduce operational overhead, accelerate execution, and improve profitability.
With coexistence support now available in version 10.0.46, PMA customers can modernize with minimal disruption, closing existing projects while launching new ones on a future‑ready platform.
Regards,
Sandeep